Pick a system before you pick a binder
Here's the mistake everyone makes once. You get a binder, you sleeve everything you own into it in whatever order it came out of the box, and a month later it makes no sense and you pull the whole thing apart. Decide how you want to flip through it before a single card goes in. There are really only three answers, and that one choice sets everything else: how many pages you need, where a new pull goes, and whether you leave gaps. Ten minutes now saves an afternoon later.

Option 1: by set
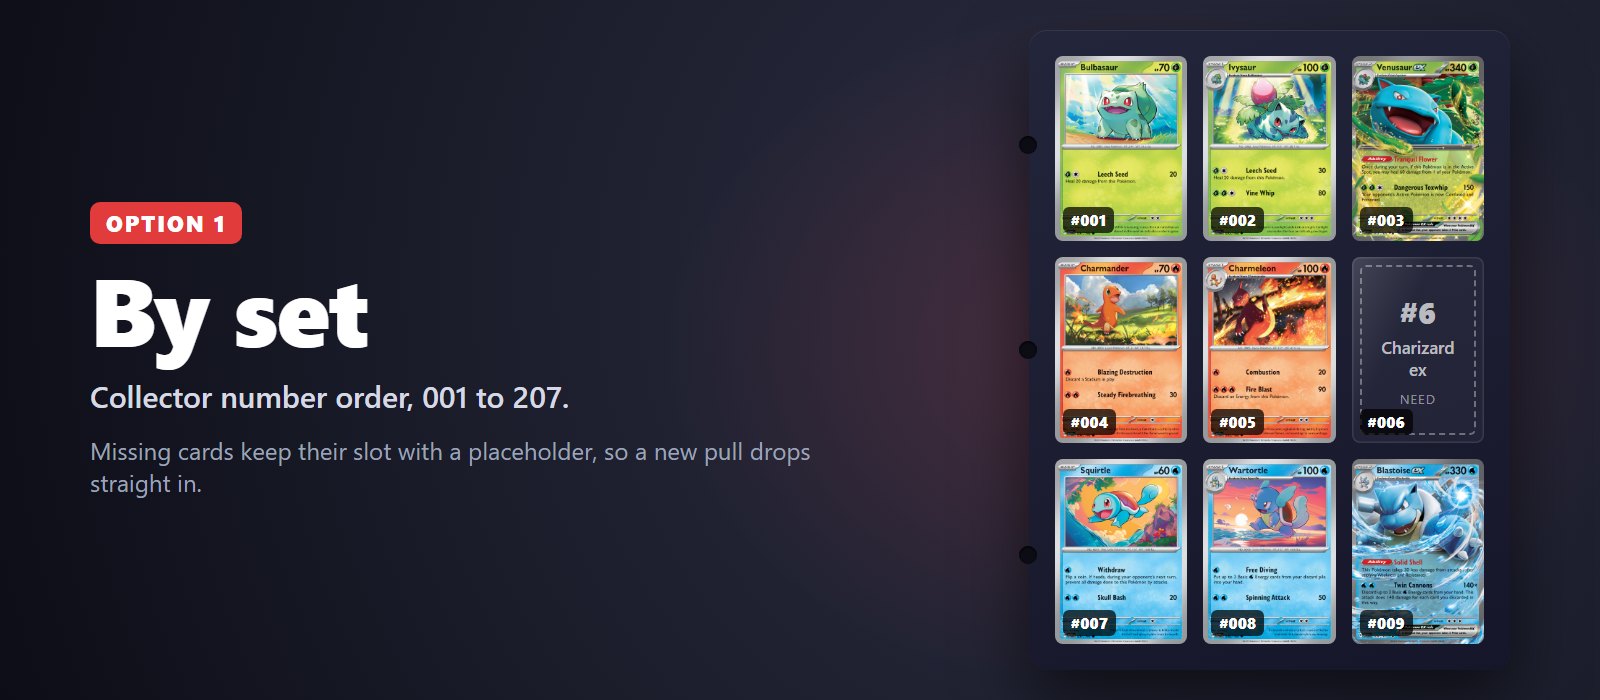
Cards go in the set's official order, by the collector number in the bottom corner (the 'xxx/198' bit). This is the cleanest way to build a binder and it's what everyone chasing a full set ends up doing. The catch is the gaps. If you don't own card 6 yet, you either leave pocket 6 empty or the whole layout shifts every time you add something. Leave it empty, and put a placeholder in it. More on that below.
- Good for: completing a set, and seeing what you're missing by flipping.
- Bad for: a mixed collection. Nine sets means nine sections and a lot of half-empty pages.
- Pages: 151 is 207 cards with the secret rares, so 23 pages.
Option 2: by rarity
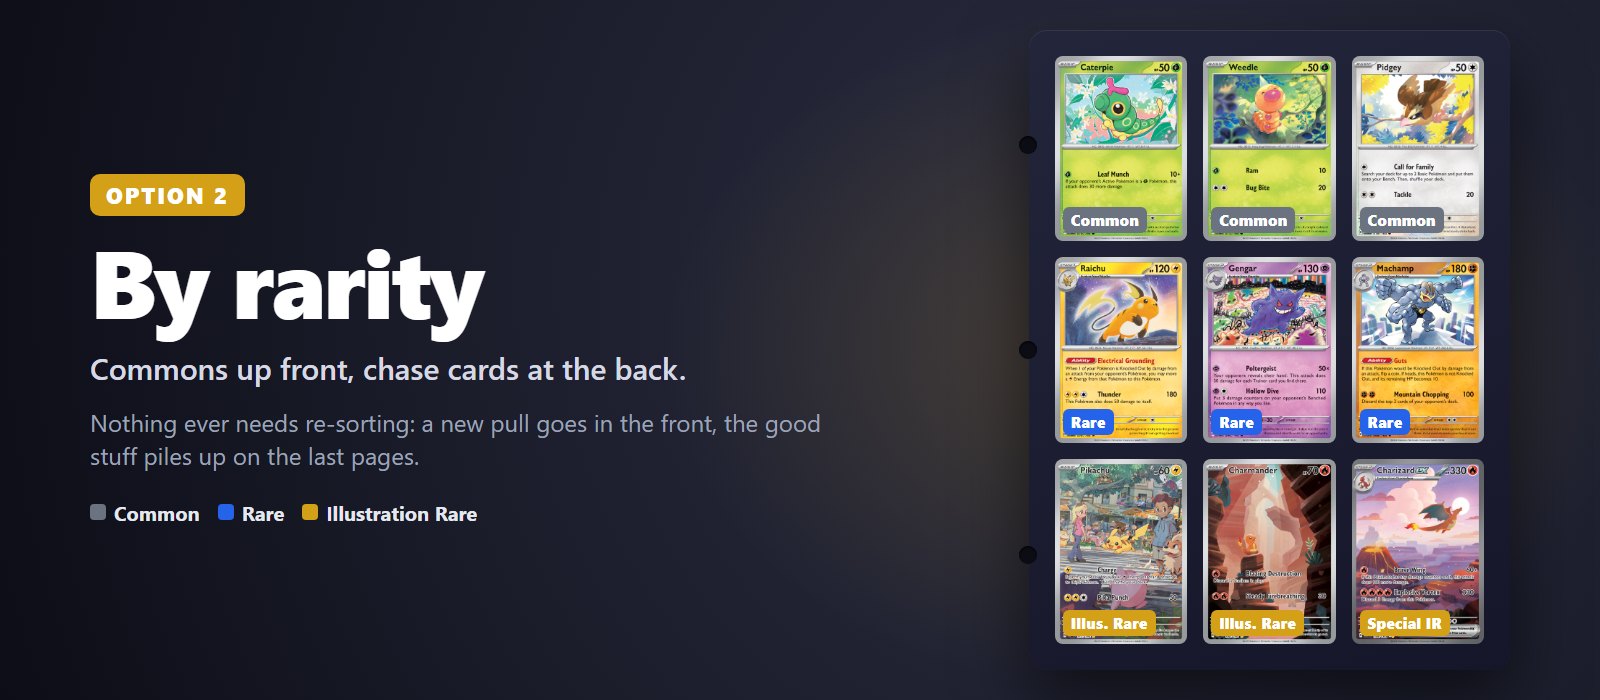
Commons and uncommons up front, holos and chase cards at the back. This is the lazy system, and that's a compliment. You basically never re-sort. A new common goes somewhere near the front, a new hit goes on the last page, and the back of the binder turns into the part you actually show people. If you open a lot of packs and want one home for everything without committing to a set, this is it.
- Good for: active pack openers, and anyone who wants the good stuff in one place.
- Bad for: finding one specific card. You'll be flipping.
Option 3: by type
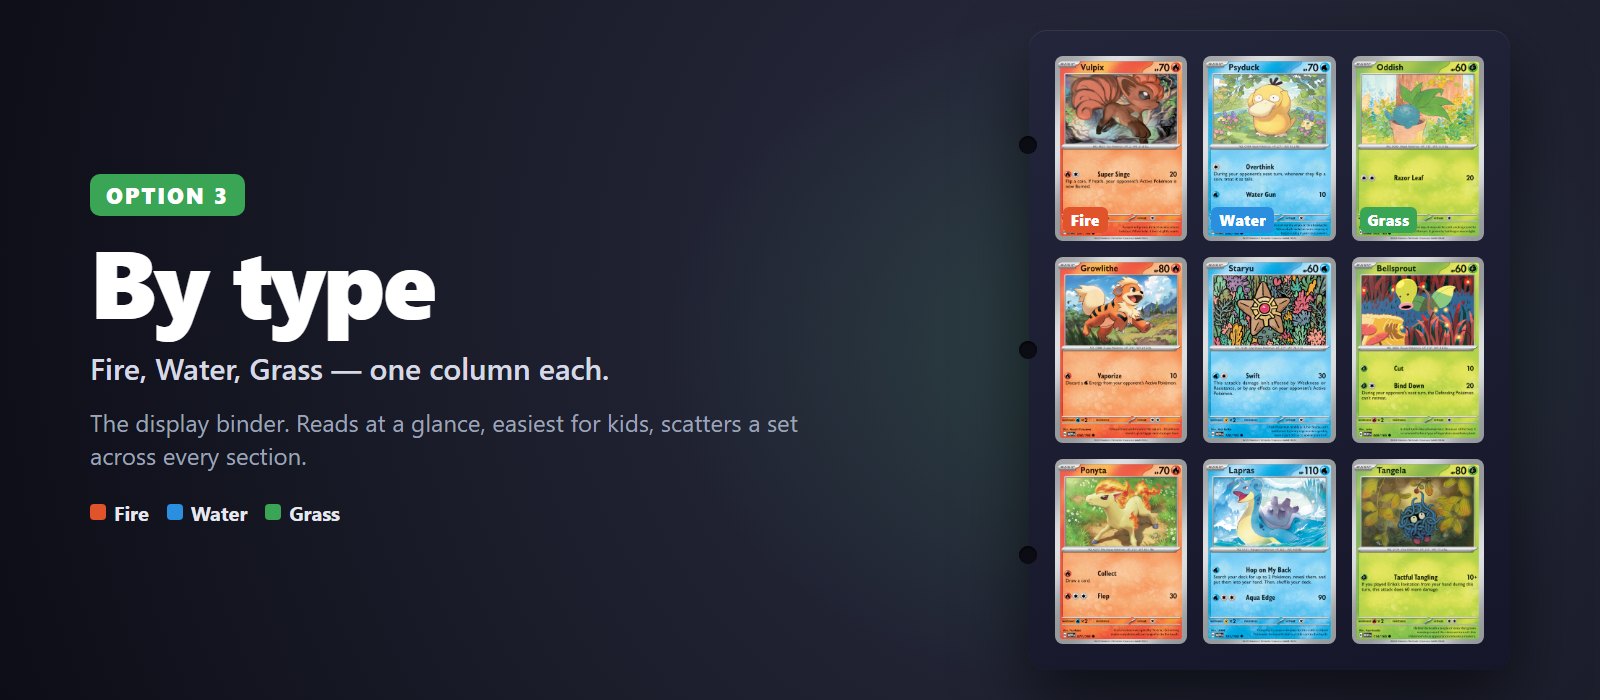
Fire, Water, Grass, Lightning, and so on down the list. This makes the best display binder of the three and it's the one kids get straight away, because it's how most people already think about Pokémon. It's also the worst for set collecting, since one set ends up scattered across every section. Use it when the binder is there to be looked at rather than completed.
Three more ways, for a binder that only exists to be looked at
The three above cover most people. If the binder is a display object first and a collection second, there are three more worth knowing, and one of them is the best-looking binder you can build.
- By colour. Sort on the dominant colour of the artwork, not the card's type. It's about as much work as sorting by type, but you're free of the frame colour, so you can run a page from red through orange or gradient across a two-page spread. It's also the one system where plain bulk earns a slot, because filling a colour page takes volume. No checklist, and where a card goes is a judgement call every time.
- By release order. Sets in date order instead of cards in number order. Great for one card per set, one Pokémon across every era, or the chase card from each expansion, because you can watch the print styles and foil patterns change page by page. A Charizard binder in release order is the whole history of the game on one shelf. Decide the rule first (one per set, or one per era) or it quietly turns into 'my cards in the order I got them'.
- By artist. Every card credits its illustrator in small print under the art, and the same names come back for decades. An artist page can put a 1999 card next to a 2026 one and have it make sense. It's the hardest system to complete, since there's no printed checklist and a busy illustrator has hundreds of cards, and it's the one with no ceiling on how good the pages look. Our artist pages list every card each illustrator has drawn, which is the closest thing to a checklist there is.
Set order and rarity order both absorb new cards without a fuss. Colour and artist don't. That matters more after a year than it does on day one.
What most people end up doing: two binders
After a year or so most people have two binders. One master-set binder in strict set order for the set they're completing, and one 'best of' binder by rarity or type for the cards they like looking at. Each binder gets one job. Trying to make a single binder do both is where all the re-sorting comes from.
Most of your cards should not be in the binder at all
Whichever system you pick, the binder is for the minority of your cards. A 200-card set is about 130 commons and uncommons, and 9-pocket pages for all of them cost more than the cards do. The binder gets the set you're completing and the cards you want to look at. Everything else goes in a box, sorted by set and in number order so you can still find a card when a trade or a deck needs it.
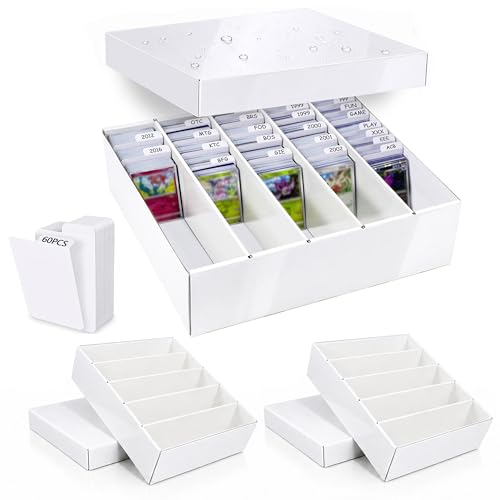
- The main pile: we use a laminated five-row XRACV box. About 4,500 cards, sits flat on a shelf. It ships with dividers, and ours is still sorted by set without them, which works right up until you need one specific Pidgey. Use the dividers from day one.
- Sets we're not chasing: cheap cardboard four-packs, one set per box, labeled on the end.
- Free option: an empty Elite Trainer Box holds a few hundred sleeved cards, the bigger premium collection boxes hold more, and both already say on the outside which set is inside.
The full breakdown of what to keep bulk in, and what not to keep it in, is in our card storage guide.
Leave gaps with placeholder cards
If you sort by set, the layout only holds if missing cards keep their slot. A printed placeholder in each empty pocket does that: same size as a card, with the number and name of the one you still need. Your binder turns into a want list you can read by flipping, and when the card finally shows up it drops straight in. There are free printable placeholder sheets in the templates section.
Protect the cards before anything else
None of this matters if the binder is quietly wrecking the cards. Three things to get right:
- Side-loading pockets. Cards go in from the side, so they can't slide out when the binder stands on a shelf.
- Acid-free, PVC-free pages. Cheap PVC off-gasses and slowly clouds the card surface. This is the wrong place to save a few dollars.
- D-rings, or no rings at all. Round O-rings sit right against the page and dent the cards nearest the spine.
Divide and label so you can find anything
Once a binder gets past a few hundred cards, flipping page by page gets slow. Printable dividers between sets, or between type sections, get you to the right page in seconds, and the binder looks like someone planned it. A title page at the front with what's in it and the date you started is a small thing that pays off the day you own five binders and can't remember which is which.
How to decide in thirty seconds
Ask one question: when you open this binder, what do you most want to see?
- 'How close I am to finishing a set.' Sort by set.
- 'Every card has a place to go.' Sort by rarity.
- 'It looks great.' Sort by type or by colour.
- 'The story of the game.' Sort by release order.
- 'The art.' Sort by artist.
Your honest answer is nearly always the right system. Second-guessing it is how people end up re-sorting the same binder three times.
Switching systems without starting over
Outgrown your setup? You don't have to re-sleeve everything in one sitting. Pull cards into stacks by the new categories first, lay the page order out on a table, and only then load the pages. Loading straight from one binder into another is how you end up with three pages done and cards everywhere. Do one set or one type per evening, and keep the old binder assembled until the new one is finished so nothing lives loose on a desk in between. Side-loading pages make this painless because cards slide out cleanly instead of being forced past a lip.
Keep it maintainable as it grows
Whatever system you pick, here's the test: can you add a card in under a minute without re-sorting? Set order with placeholders passes. Rarity order passes. That's why those two are the ones people are still using a year later. Leave some slack, a few empty pages at the back and dividers you can move, so the binder grows instead of getting torn down every time a new set drops.